

Off-Grid Solar Power: A Beginner’s Guide
Going off-grid with solar power is one of the most empowering steps you can take toward energy independence. Whether you’re powering a remote cabin in the Texas Hill Country, outfitting an RV for full-time travel, prepping for emergencies, or simply reducing your reliance on the utility grid, solar gives you clean, silent, renewable electricity anywhere the sun shines.
This beginner-friendly guide walks you through the essential parts of an off-grid solar system, the difference between pre-made solar generators and DIY builds, real-world applications, how to size everything correctly (especially battery storage), the pitfalls of undersized systems, and why research is non-negotiable before you spend a dime.
What Is Off-Grid Solar Power?
Off-grid solar means your system is completely independent—no connection to the utility grid. Solar panels generate DC electricity during the day, batteries store it, and an inverter turns it into usable AC power for your appliances. Excess energy is stored instead of being sold back (no net metering here). It’s perfect for locations without grid access or for those who want true backup power.
Key Components of an Off-Grid Solar System
Every off-grid setup shares the same core parts. Here’s how they work together:
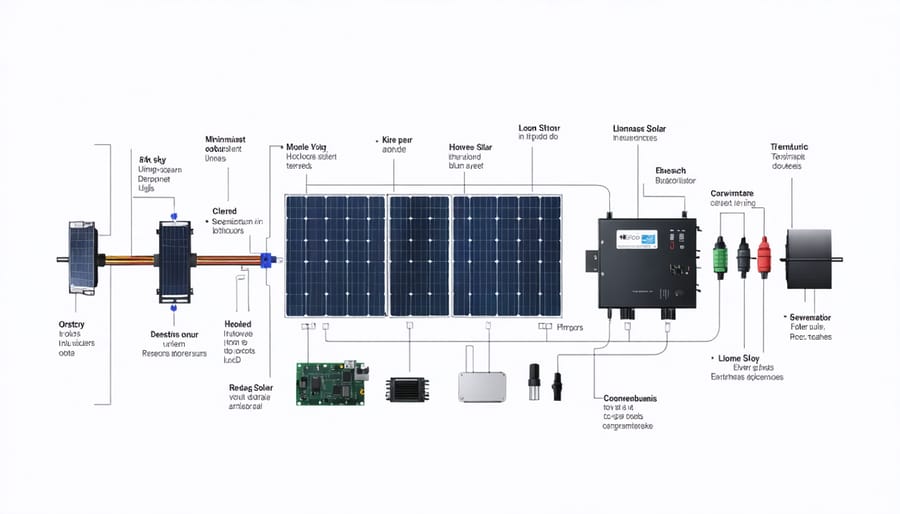
- Solar Panels (PV Modules): Capture sunlight and convert it to DC electricity. Monocrystalline panels are most efficient and common for off-grid use.
- Charge Controller: The “brain” that regulates voltage and current from the panels to the batteries. Prevents overcharging and extends battery life. MPPT controllers are best for maximum efficiency.
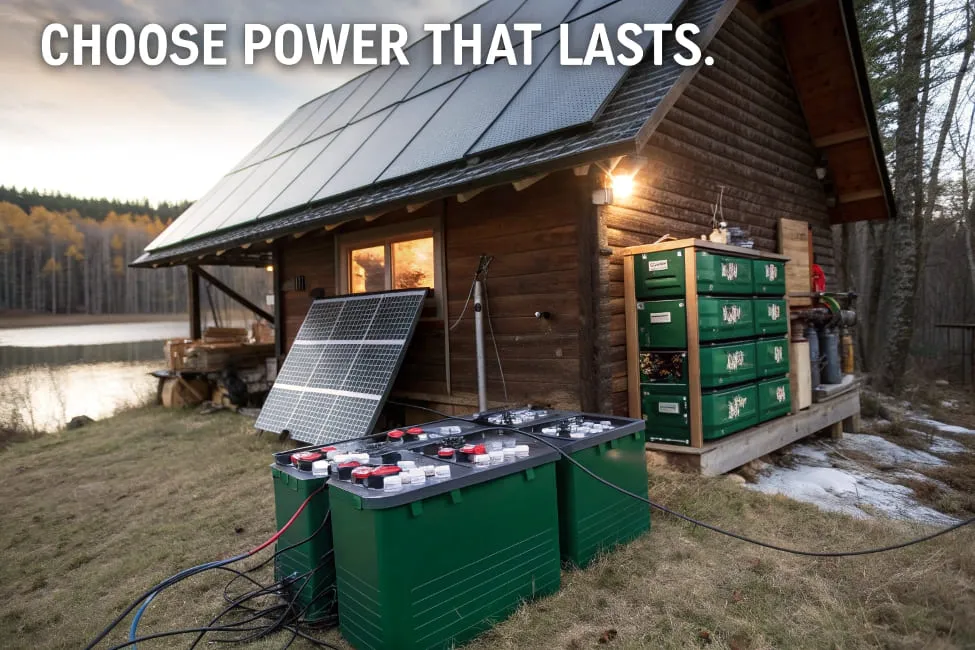
- Battery Bank: Stores energy for use at night or on cloudy days. Modern lithium LiFePO4 batteries are lighter, longer-lasting (3,000–5,000+ cycles), and safer than old lead-acid types.
- Inverter: Converts stored DC power into 120V AC (or 240V for larger loads) that your household appliances understand. Pure sine wave inverters are required for sensitive electronics.
- Wiring, Fuses, Breakers & Monitoring: Safety components and optional Bluetooth apps or displays let you track production and consumption in real time.
Optional add-ons include a backup generator, transfer switches, and DC loads (lights, pumps) that skip the inverter for higher efficiency.
Pre-Made Solar Generators vs. DIY (Self-Made) Systems
You have two main paths:
Pre-Made Solar Generators (e.g., Jackery, Bluetti, EcoFlow, Anker)
These are all-in-one portable power stations that already contain the battery, inverter, charge controller, and outlets. Just add foldable solar panels and you’re running.
Pros: Plug-and-play, lightweight, built-in safety features, great for beginners, camping, or emergencies.
Cons: More expensive per watt, harder (and costlier) to expand later.

DIY / Self-Made Systems
You buy panels, controller, batteries, and inverter separately and wire everything yourself (or hire an electrician).
Pros: Fully customizable, cheaper at scale, easy to expand, higher efficiency possible with 24V or 48V systems.
Cons: Requires more knowledge, proper fusing, and safety practices.
Start with a pre-made unit to learn the ropes, then scale into a full DIY system as your needs grow.
What Applications Can You Run?
Off-grid solar is surprisingly versatile once sized correctly.
Small / Portable Loads (perfect for pre-made generators):
- Phone/laptop charging
- LED lights
- Small fans or USB devices
- Mini-fridge or cooler
Medium Loads (good transition to DIY):
- Full-size refrigerator (runs ~4–8 hours/day)
- TV, router, laptop workstation
- CPAP machine
- 12V water pump or well pump (with proper inverter)
- Power tools
Large / Whole-Home Loads (requires robust DIY system):
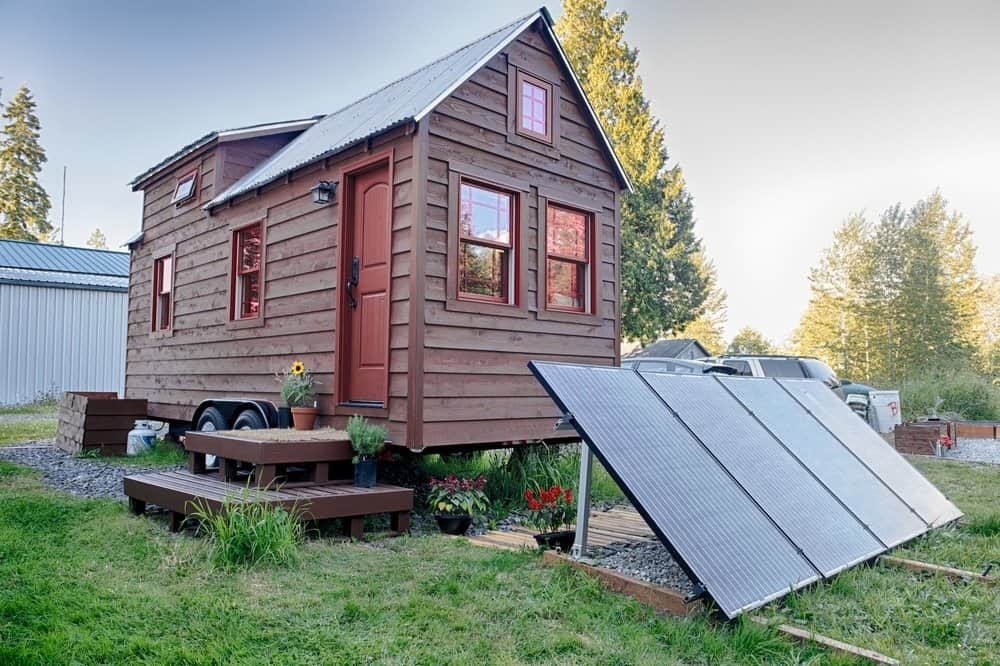
- Lights, outlets, and appliances in a tiny home or cabin
- Small air conditioner or mini-split (high surge — needs oversized inverter)
- Washing machine (on-demand)
- Electric water heater (tankless DC versions exist)

Real-world example: Many Texas off-gridders run an entire 400–800 sq ft cabin on a 3–6 kW system with 10–20 kWh of lithium storage.
How to Properly Size Your Needs (The Most Important Step)
Undersizing is the #1 reason people get frustrated with solar. Here’s the exact process:
- Calculate Daily Energy Consumption
List every device → watts × hours used per day = watt-hours (Wh).
Example:
- Refrigerator: 150 W × 8 hrs = 1,200 Wh
- Laptop + lights: 60 W × 6 hrs = 360 Wh
- Total daily = 2,500 Wh (2.5 kWh)
- Add System Losses
Multiply by 1.25–1.5 (inverter ~85–90% efficient + wiring losses). - Decide Days of Autonomy
How many cloudy days do you want to run without sun? Most beginners plan 2–3 days. - Size Battery Bank
Formula:
Battery kWh needed=Daily kWh×Days of autonomyDepth of Discharge (DoD)\text{Battery kWh needed} = \frac{\text{Daily kWh} \times \text{Days of autonomy}}{\text{Depth of Discharge (DoD)}}
Lithium DoD ≈ 90%, lead-acid ≈ 50%.
Example: 2.5 kWh daily × 3 days / 0.9 = ~8.3 kWh battery bank.
- Size Solar Panels
Panels must replace what you use every day.
Formula:
Panel watts needed=Daily Wh×1.3Peak sun hours in your area\text{Panel watts needed} = \frac{\text{Daily Wh} \times 1.3}{\text{Peak sun hours in your area}}
Austin, Texas averages ~4.5–5 peak sun hours. So 2,500 Wh × 1.3 / 5 ≈ 650 W of panels minimum.
Use free online calculators (or a simple spreadsheet) and always oversize by 20–30%. Batteries are the most expensive part — get this right the first time.
Drawbacks of Smaller Systems (and Why They Fail)
Many beginners buy a 300–500 Wh “portable” unit thinking it’s enough. Common problems:
- Runs out of power after one cloudy day
- Can’t start high-surge appliances (fridge compressor, microwave)
- Inverter overloads and shuts down when you try to run two things at once
- Batteries wear out faster from deep daily cycling
- No room to grow — you’ll outgrow it in months
A too-small system feels like a toy instead of real power. That’s why proper sizing and research matter.
Why You Must Do Research Before Buying
- Compatibility: 12V, 24V, or 48V systems have huge efficiency differences at scale.
- Battery Chemistry: Lithium is worth the upfront cost; cheap lead-acid dies fast.
- Warranties & Support: Cheap no-name brands fail with no service.
- Local Rules: Even off-grid, some Texas counties require permits or fire setbacks.
- Climate Matters: Batteries hate extreme heat or cold — Texas summers require ventilation.
- Total Cost of Ownership: Panels are cheap; batteries and quality inverters are not. Factor in replacement costs.
Buy once, cry once. Cheap gear usually ends up costing more.
Installation Considerations
- Mount panels south-facing (in Texas) at ~25–30° tilt for best year-round production.
- Avoid shading at all costs — even partial shade kills output.
- Use proper UV-rated wire, fuses, and grounding.
- Place batteries in a temperature-controlled space (shed, basement, or insulated enclosure).
- For larger systems, hire a licensed electrician or solar installer — safety first.
Final Thoughts
Off-grid solar isn’t just about gadgets — it’s about freedom, resilience, and knowing your power will always be there when the grid goes down. Start with a quality pre-made generator to learn, calculate your real loads honestly, size generously for batteries, and build confidence before going full DIY.
You don’t need to be an engineer. You just need to start.
Ready to build your own system? Drop your daily watt-hour estimate in the comments or contact me at OffgridTechnology — I’m based right here in Austin and love helping Texas folks get powered up the right way.
Stay off-grid, stay powered. 


Leave a Reply